KW1403 – A Slice of DietPi

Nov 06

This week we dive into the wonderfull distro called Dietpi.

We discover its a great way to turn a single board single purpose computer into a multi-function wonder-device.

We take it a step further by showing you what DietPi can do for your Raspberry Pi and your home Linux server. Another raspberry-jam-packed show with hacks tips and tweaks for cross-plaform geeks

Links

Related Posts


KW1301 – Getting iOS and Linux to Play Nicely Together

Jul 28

There are those times in life when you want to do things because you can… and sometimes you can leverage that in getting done all that you need to do.

Links

Code Snippets

  • Download your ‘watch later’ playlist
    youtube-dl -u <yourGmailAddress> -p <yourPassword> -f mp4 --playlist-start 1 https://www.youtube.com/playlist?list=WL
  • Download ‘audio only’
    youtube-dl -u <yourGmailAddress> -p <yourPassword> -f m4a --playlist-start 1 https://www.youtube.com/playlist?list=<your playlist id>

Credits

Episode produced by Keith Murray
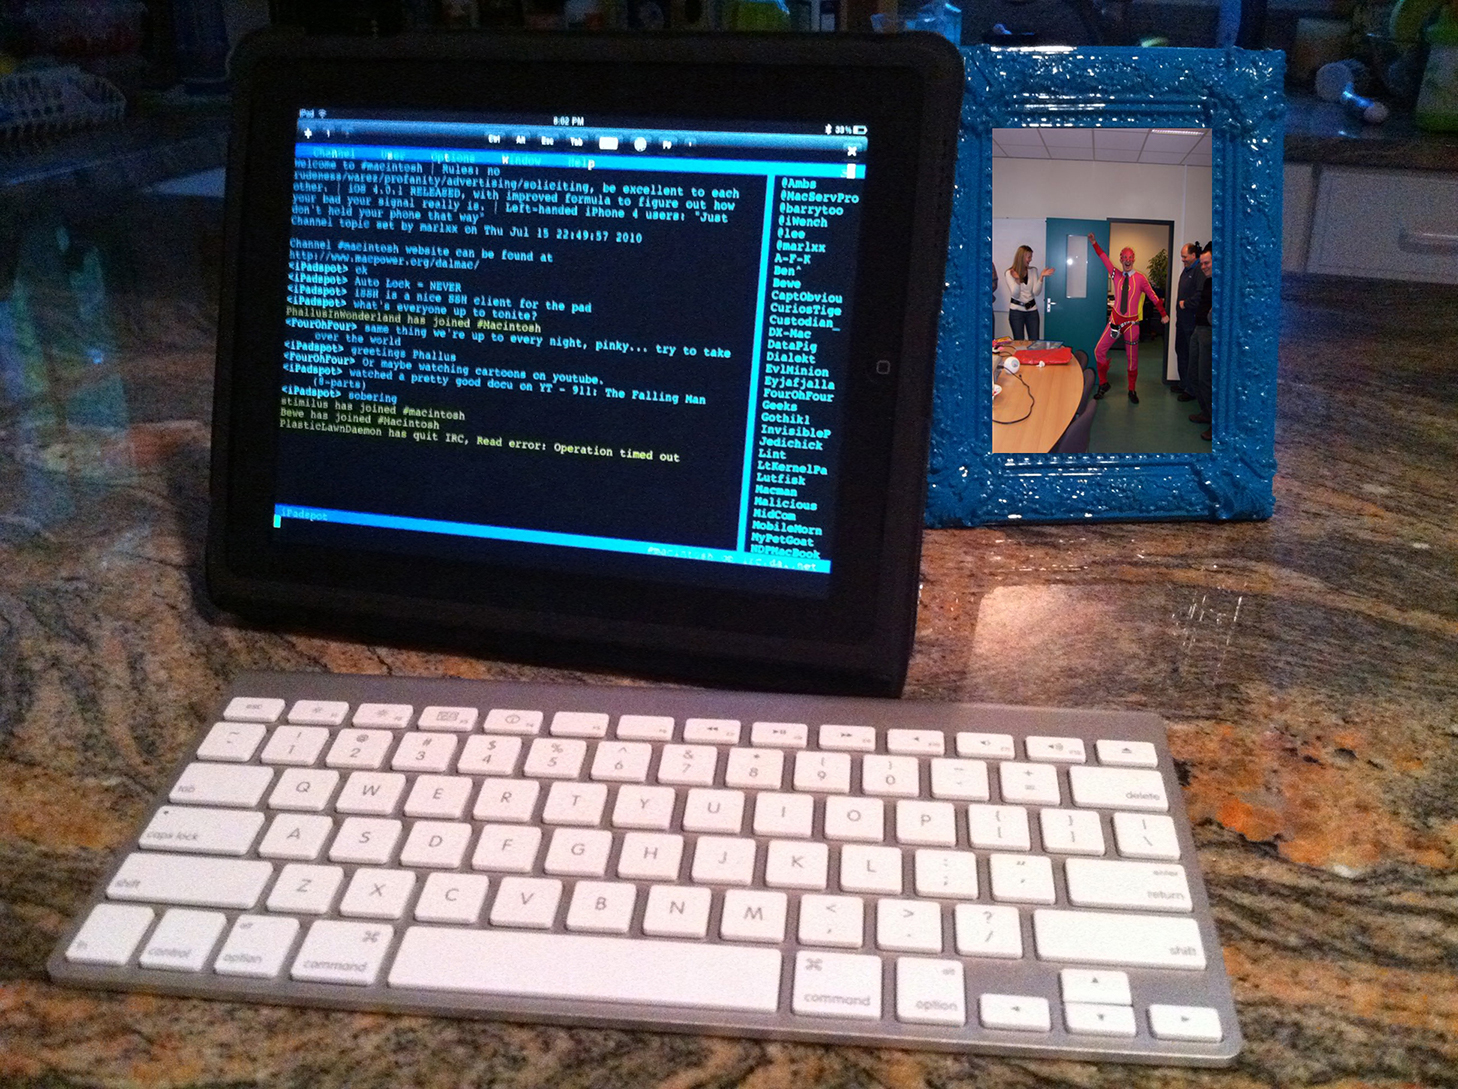
Image courtesy of Blakespot on Flickr

Related Posts


KW1202 – One Linux to Rule Them All

Dec 08

Sometimes the way to achieve “less” is to make more use of the things you already have. If the thing you already have is a fairly powerful old laptop, what you may find is that it makes the perfect home server. This week Knightwise tells us all about the laptop with the new lease on life.

Credits

Episode produced by Keith Murray
Home screen picture courtesy of PixaBay


Related Posts


Building a simple Offsite backup server with an EEEpc and Bittorrent Sync.

Jan 04

Some gadgets are just hard to throw out. Perhaps you keep hanging on to them because you have this plan of “using them someday” for “some project”. Perhaps you keep hanging on to them because of nostalgia. Whatever reason you might choose, those geeky gadgets that keep occupying that box in your office aren’t getting any younger. Why not put them to good use ?

Lets take 2 items in MY junk-box as an example. An aging Asus EEE 701 Netbook PC that I have been hanging onto because of sentimental reasons. (I smuggled it in from the US way before these babies were available in Belgium) Its keyboard is broken and its low specs when it comes to storage, memory and cpu power aren’t helping it in finding something useful to do these days. The second item is my first 1tb external hard drive. I haven’t thrown this one out because its on my ‘for-some-project-some-day’ list. Its been on the list for 2 years now … So lets smash them together and turn them into a Remote backup solution using open source software and Bittorrent technology.

1013636_10152730916287912_8486272877834744564_n

Step 1 : Turn the EEEpc into a headless server.

I downloaded the Image for Ubuntu’s ‘minimal installer’ off the net and have had it kicking around on an old USB stick for a while now. Because of its small footprint its ideal to do ‘light’ installations of Ubuntu because you can choose which components you want to install. I chose the ‘minimal Ubuntu server’ and the SSH server component. When the installation was complete I rebooted the laptop and hooked up the external USB drive (that I had formatted in one big FAT32 partition)

Step 2 : Install Webmin and mount the drive.

Because I was going to use my external hard drive to store my remote backups on (the EEEpc doesn’t have enough storage) I needed to be sure it was always mounted correctly if my little laptop should have to reboot. So instead of messing around with stuff like FStab config files I installed Webmin. (a Web-based interface to your Linux server). Using the ‘Disk and network file system’ menu I mounted the external drive into a folder called ‘backup drive’ that I had created in my home directory. This way I was sure that the external drive was always mounted correctly in the same folder.

Links : Howto install Webmin.

Step 3 : Install Bittorrent Sync.
Next up I installed a copy of Bittorrent Sync both on my local server and on the old eeePc. Following THIS tutorial lets you install Bittorrent Sync and configure the Web interface to be accessible from all over your network. (So make sure you choose a very secure administrator password). When installing Bittorrent sync this way, you are also sure the service always starts up when your computer reboots.

Links : Howto install Bittorrent sync. 

After the installation was complete I surfed to the Bittorrent web interface of my home server (source system) in one tab, and to that of my EEEpc (remote destination system) on another one.

Step 4 : Share a folder on your Source system.

Now it was pretty smooth sailing. On the Bittorrent web interface of my SOURCE machine I made a bittorrent share of each folder I wanted to backup remotely. I right clicked “properties” once the folder was created and copied the ‘READ ONLY’ secret.

Step 5 : Enter the key for the shared folder on your remote destination system.

Next up I went to the tab of my ‘remote destination system’ and entered the READ ONLY key. I selected a folder on my external drive where the files needed to be synced towards. (in my /home/backupdrive/ directory)

Step 6 : Do the initial copy

After repeating the process above for all the folders I wanted to ‘sync remotely’ I just had to wait for the initial copy to complete. After that it was time to pickup the EEEpc and the External drive and bring them to their new (remote) home. I hooked the EEEpc up to the network, started up the machine and … that was that … headless remote backup solution done.

Epilogue.

Because Bittorrent sync doesn’t care about open ports or anything I didn’t have to mess with the router on the remote end of my backup solution. There were no ports to forward and even a static IP was not required for the remote machine. Just connect it , fire it up and .. boom. Using the ‘read only’ secret is an insurance that changes to my files are only synced one way : From the source to the remote system (and never the other way around).

You can expand this setup (and increase the security at the remote end) by syncing over encrypted ZIP files. That way people can’t access the data should your system be compromised.

In the end its a great simple way to use an old system (you can even use an old laptop with a broken screen for this) and give it a new lease on life. The setup is simple, the interfaces are web based and the whole setup is perfect for a remote backup destination at your parents or in laws.

So secure your data and put those old clunkers back in action !

Related Posts

Server week : Trust no-one with Owncloud.

Apr 03

Dropbox changed its terms of service so they can give you data to the Feds if they just ask for it, Ubuntu shuts down the online fileservice “Ubuntu One” : Who can you  trust these days ? The great thing with cloud solutions is that they are on a server far far away, most of them are free and you never have to maintain them. The downside is that they are on a server far far away, they are free and you cannot maintain them. We give up a certain level of control for the convenience of the cloud. It would be of course far nicer if you had a service that offered you all the luxury of the products mentioned above .. but gave you full control, absolute privacy and a completely controlled solution. (and free ! It has to be free).

oc5files

Do not fear : Owncloud is here.

Owncloud is a self hosted cloud solution that gives you the luxury of the cloud in the privacy of your own home (or on your own hosted environment). Its a cross platform webservice that gives you the ability to store files in the “cloud” and access them from anywhere, Sync those files with your desktop (like Dropbox) You can share your files with friends and access them using mobile clients on Android and IOS devices or a simple browser window.

Don’t trust the cloud with your Calendar and contacts ? Owncloud takes care of that too. Manage your contacts and calendars straight from Owncloud or sync them up with your mobile devices using open standards like .vcard and caldav. 

Tired of the tracks on Groovebox or spotify ? Would you like to stream your music (and movies) from your own hard drive at home ? Owncloud even has an answer for that. The built in media player lets you access your library from anywhere as long as you sport at least a browser (AND some underwear .. Owncloud is classy like that).

Want to tie all of your different cloud services together ? Owncloud supports connecting external storage to the service (like network and usb drives) but can also connect to Dropbox and Google Docs, offering ALL those files up in one simple interface.

So what does it take ? 

Installing Owncloud is pretty simple. All you need is a linux server and you can choose to install Owncloud either from the repositories (if you are using Ubuntu or Debian) or you can go and download version 6 straight from their website. 

Owncloud is based on a web based server so you can access everything from port 80 and add some security by choosing to go for https to do your authentication (highly recommended).  You can run it on your server at home OR on a webspace you rented somewhere (or if you are really lucking on your own hosted server in some datacenter). You don’t need a lot of power, but Owncloud does need some ram and some cpu power if it is going to manage and index thousands of files for you.

So how do I do it.

Find out more.

In all , Owncloud is a very powerful solution when it comes to hosting stuff yourself. It has come a long way since version 6 and I have been a big fan of the convenience, the cross platform compatible-ness (is that a word ?) and the sheer power of integrating multiple storage locations (usb drives, network drives, cloud storage) to ONE single web interface. Try it .. you’ll be on cloud 9.

Related Posts