Going Paperless.

Aug 02

Paperless.

I have a superpower. (Aside from being a sexy geek that is) and that superpower is that whenever I write down a piece of essentially important information on a piece of paper, that slip of bleached wood pulp gets transported to a parallel universe and is never seen again. I have lost countless phone numbers, ideas, concepts, plans and memo’s by writing them down. However, ask me to pull up a piece of digital information (no matter how trivial) from 12 years and 2 days ago? Chances are that I’ll have it for you in under 10 minutes.

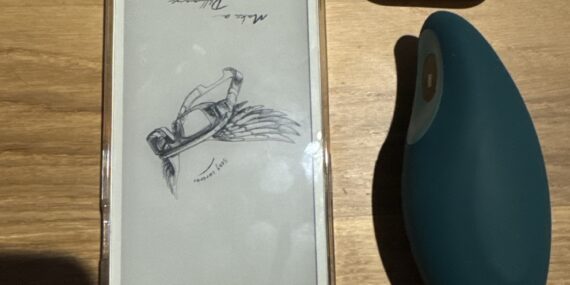
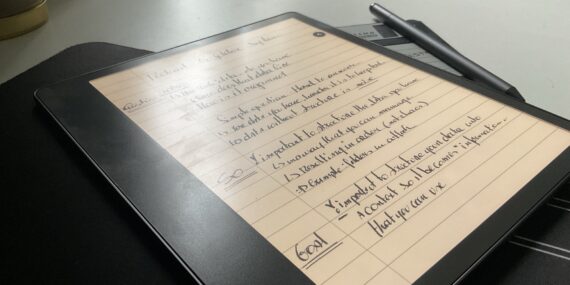
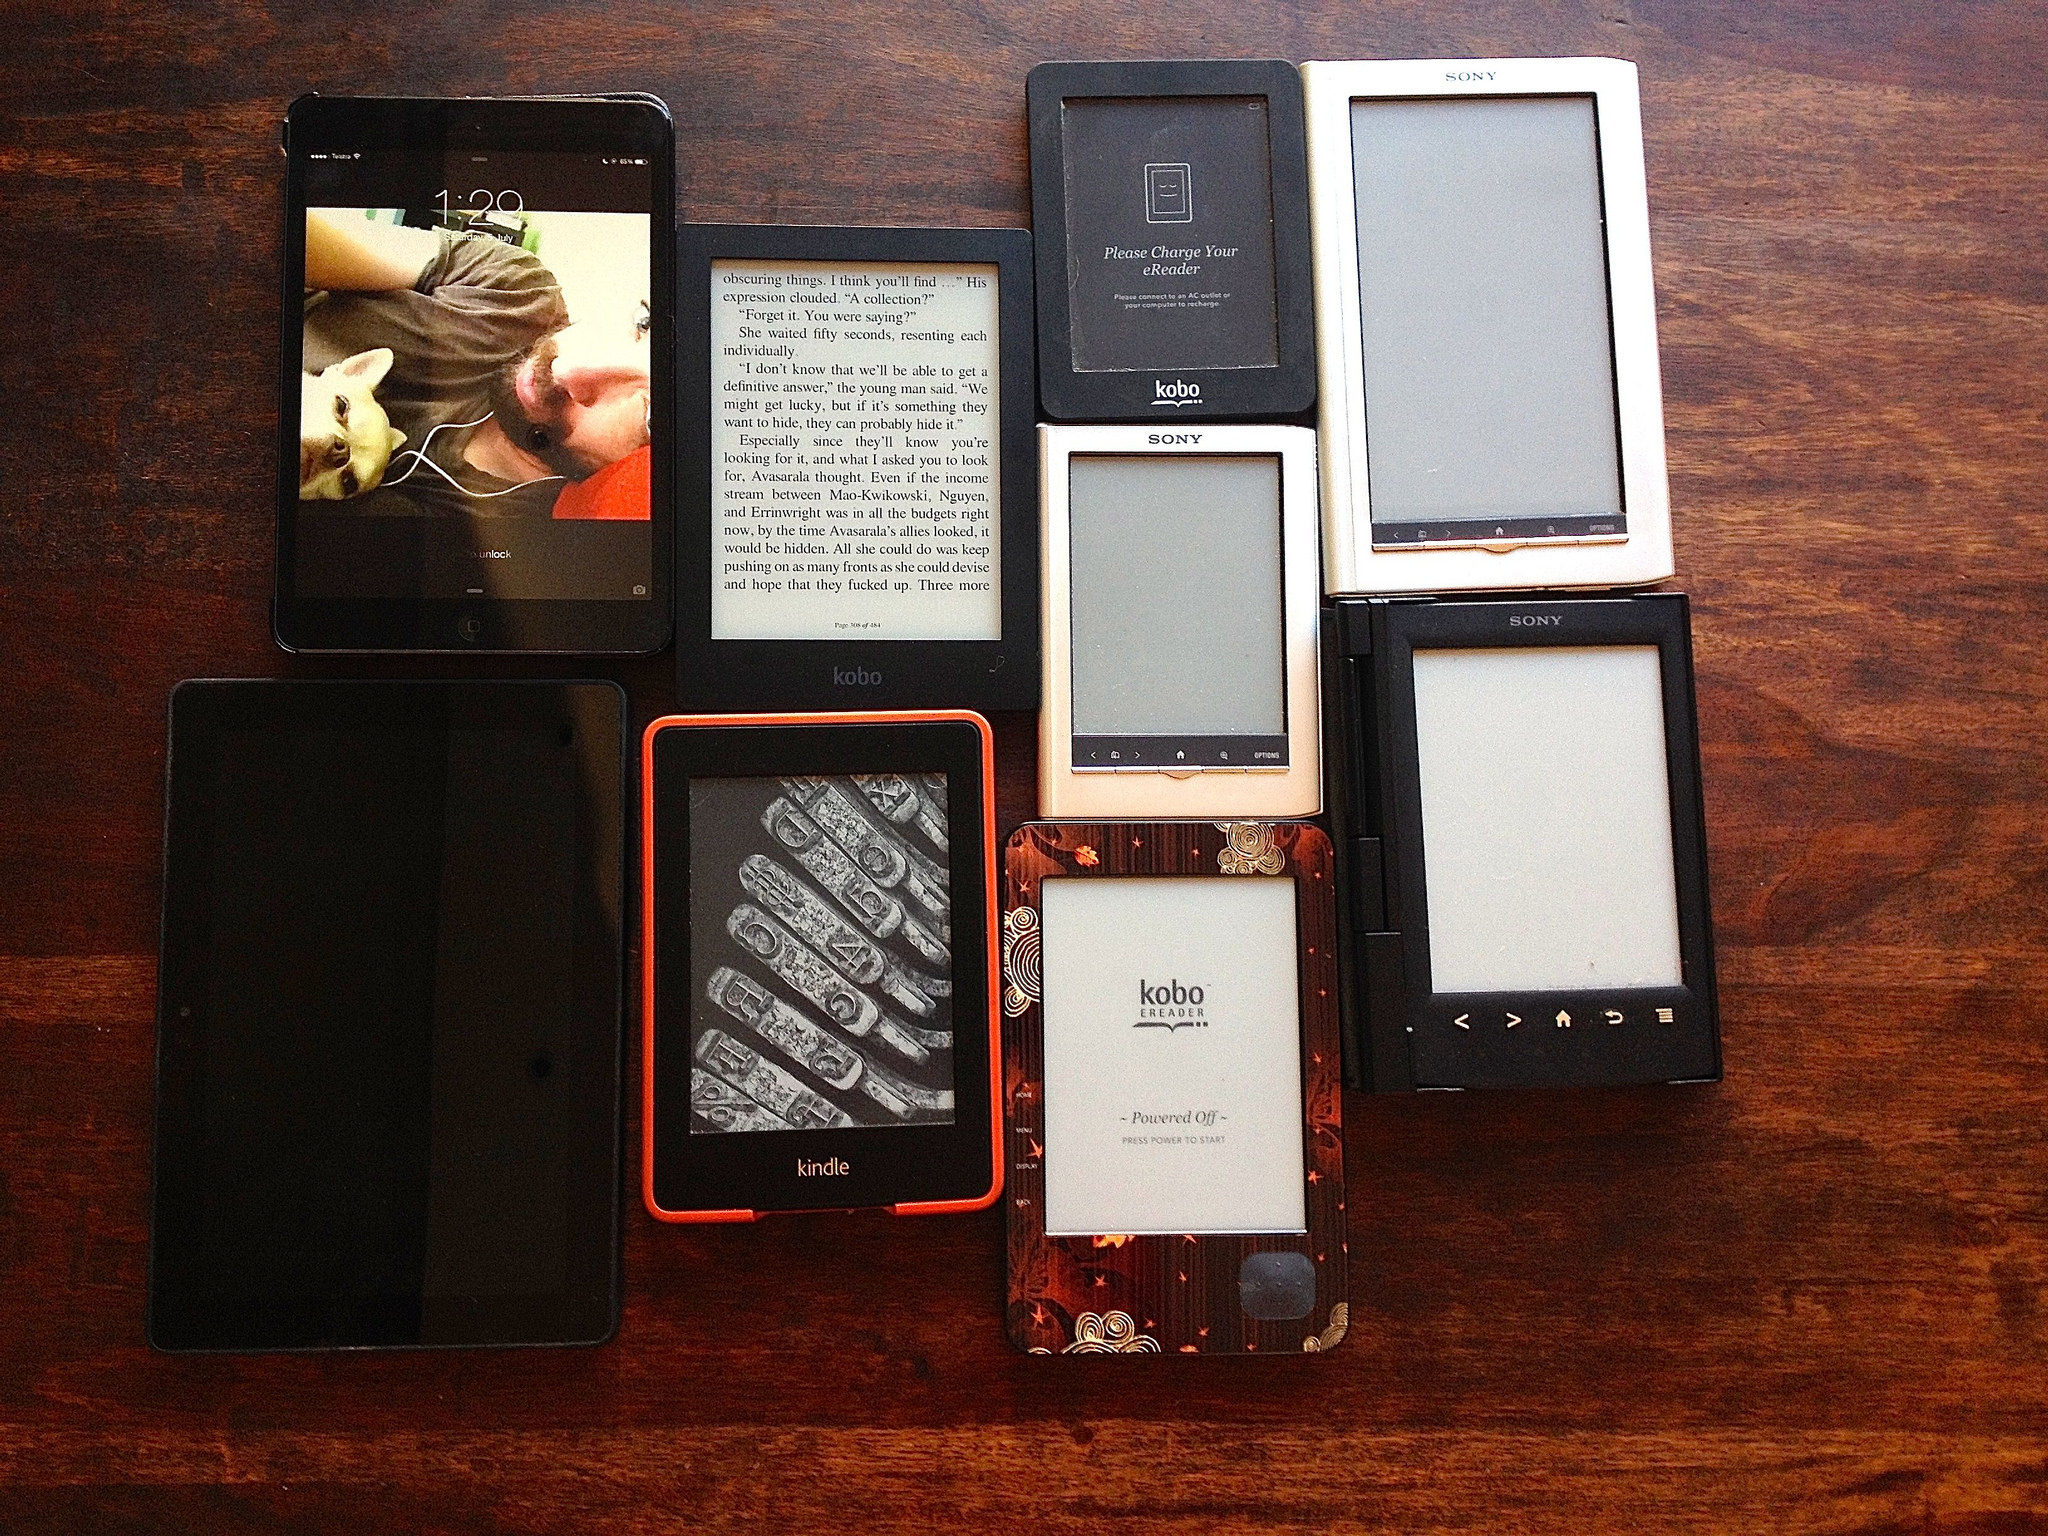
So the logical decision for me is of course to go paperless. I have been reading Ebooks for years now and I very very rarely handle a paper book (Because It might not be available digitally). And with writing it’s the same thing. Give me a stylus and let’s go completely paperless. So what do I write on?

Writing on the iPad

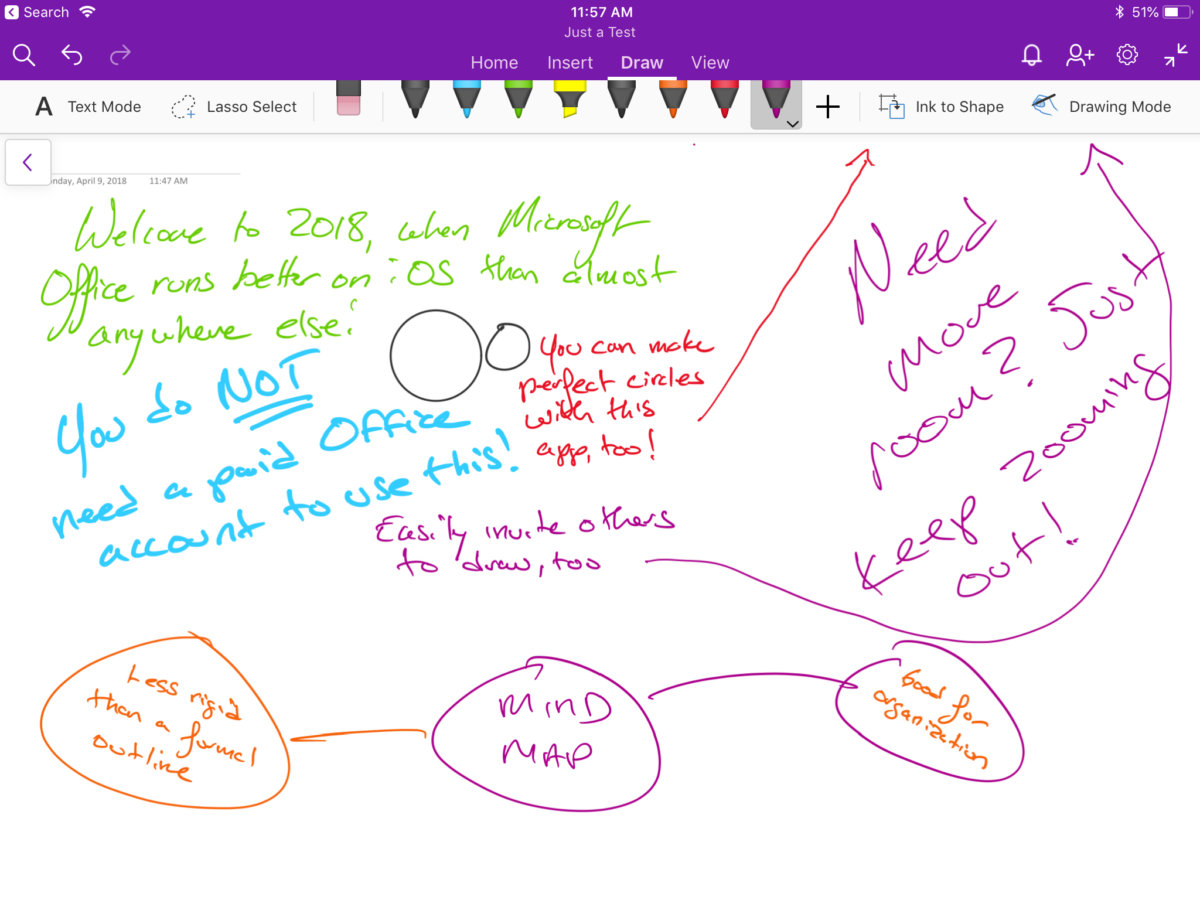
I got myself a 5th generation iPad just to be able to have a very compact and light divide to write on. Instead of going for the rather large (and clunky) Apple 1st generation Stylus, I went for the Logitec Crayon. A rechargeable stylus that was designed for the educational department. It handles better then the Apple Pencil but i’ve had some issues with battery life that I need to figure out. The apps I use on the iPad mini are OneNote for taking handwritten notes and Notability for doodling. Annotating Pdf’s is done in the PDF Expert app. The upside of the Ipad Mini is of course the size (its extremely handy to carry around) but that is also its downside. The downside on the Mini is that you don’t have a lot of space to run apps side by side. Having a youtube video open while simultaneously taking notes does cramp your space.

Writing on the Surface Go


The “other” device I write on is my Surface Go. This smaller and lighter 10 inch “cousin” of the Surface Pro line is an excellent little laptop in its own right. The smaller form factor makes it a lot more “natural” to write on then its bigger Pro cousins. Having done annotations and writing on a Surface pro 4 with their 12 inch screen I can say that 2 inches makes a lot of difference. (2 inches SMALLER in this case ladies).

The upside with the Surface Go is that you of course have a “complete pc” with you. The keyboard cover is expensive but extremely handy and does not get in the way of things when you flip it back to start writing. Just like with the iPad you can split your screen and run apps side by side. Book on one end, notepaper on the other. But it is not always practical. The palm rejection acts up when you accidentally touch the ‘other application” with the palm of your hand while writing. The fact that when you are writing in landscape mode also does not help for ergonomics. The Surface go is slightly thicker than the iPad Mini (and a lot thicker) and that also gets in the way.

Flip the Surface Go into landscape mode and it’s a whole new ballgame. The screen is now almost the exact size of an A4 sheet of paper and when you put your note taking app into fullscreen mode it makes for a nice writing experience. The applications I use for Doodling here are “Bamboo Paper” (Because instead of the standard and expensive Microsoft Pen I went for the Bamboo Ink pen) OneNote for writing and Edge for annotating PDF’s.

So what do I write on ?

Which device I pick up generally depends on my mood and on what I want to do. When doing a meeting with a client I find that the iPad mini works great. It’s small enough to carry around and aside from taking notes during the meeting I also use it to walk around, take pictures of their infrastructure and write up some annotations on those. When I want to study from a book I sit down with the Surface GO. Using the Text-to-speech function in Edge I can have the book read out loud to me while taking notes. I’ll put the Surface Go in landscape mode, Open the ePub in Edge, press “play” and the put OneNote fullscreen to write and scribble my way through.

The Picard manoeuvre

But sometimes one tablet is not enough and I go for “The Picard Manoeuvre”. Inspired by the desk of this Starship Captain that was occasionally riddled with tablets, I too go for a multi-tablet approach. The output device (displaying the content I want to examine, a book, video or what have you) might be my Kindle or even a laptop. My annotation device can be the iPad or even the Surface go. The best combo I’ve tried so far when studying from a book is using my Kindle to read and my iPad mini to write on. The end result is a small and light combo I can shove just about anywhere.

Writing 2.0

In the end going Paperless has given me a lot of advantages. I have my notes with me anywhere, can change the order of pages, I can add pictures and even sound files and even put in some typed up text, screenshots, quotes and so forth. It has become so bad that I have a hard time working with “regular” paper because it lacks that functionality. The only downside with my approach is that writing on a screen is not the same as writing on paper. This takes some getting used to and does mess up your handwriting (although i’m not sure this is because of the device or the fact that my handwriting was never that great). I’m not sure.

But gone are the days where I ‘lost’ notes, annotations and the formula for warp drive. (I had it, I swear). Now .. I just “Write 2.0”.

Related Posts

Ebook Week Day 5 : Write your own eBook ! (By Daniel Messer)

Nov 14

Introduction : Writing is hard.

Writing a book is hard, but actually making and publishing an eBook doesn’t have to be. Here’s an easy way to take your finished text and turn it into eBooks for popular devices and Kindles using nothing but free and open source software! I can vouch that it works, because I’ve done this twice. I’ll do it a third time when this current book is finished.

Things You Need & Things You Need To Do

Let’s Download Things!

You’re going to need two free and open source applications and a free and open source plugin. The great thing is that all of them are platform independent, so no matter if you’re running Windows, OS X, or Linux; you’ll be able to make your eBook a reality.

First, you’ll need LibreOffice, a free and open source office suite similar to Microsoft Office. OpenOffice will do the job too, but I prefer LibreOffice. Pick the one that you like. Second, you’re going to need Calibre, which is also a free and open source application. Calibre is an eBook manager, database, content server, and more importantly, eBook format converter. The plug-in you’ll need is for LibreOffice and it’s called Writer2ePub and that’s an apt description of what it does.

Download and install LibreOffice and Calibre or snag them from your repositories. Once LibreOffice is installed, you should be able to double click and install Writer2ePub as your OS will recognize that as a LibreOffice plugin. Installation is quick and easy and soon you’ll be up and running with some prime software to make an eBook.

Styles

First, you’ll have to write that eBook, and I can’t give you help on that here. I do suggest that, when you’re formatting your book in LibreOffice, make use of the Heading 1 style for your chapter names. Formatting and design is a thing for another post but using the Heading 1 style for your chapter names will be important because Writer2ePub automatically builds a table of contents for you, based off those Heading 1 style calls. If you don’t have chapters then that’s fine. You don’t have to worry about the style selection at all, unless you want to!

Once you’re done organizing and setting your chapter styles, you’re ready to go! Obviously, make whatever edits you think you need for your finished book, but when you’re ready to pull the trigger click the Writer2ePub icon on your LibreOffice toolbar. You’ll actually see three of them. The first builds your eBook; the second handles your metadata which includes title, author, cover, and description; and the third is preferences. You can set preferences as you like, but for now, let’s set our metadata. So click the Writer2ePub icon with a little blue i on it and set up your metadata as appropriate.

Writer2ePub Metadata

You should add a cover because, as a professional librarian, I can tell you that people judge books by their covers, cliches notwithstanding. eBook design is a thing all its own, but your cover should be a high quality image, at least 500 x 800 and 72 pixels per inch. I use an image that’s 625 x 1,000 and 100 pixels per inch. The preferred maximum size for the longest side is usually 2,000. So edit your image accordingly. That stuff set, you can continue editing and tweaking as needed. If you save the file, your metadata saves with it.

Are you ready to make an eBook? Excellent! Time to click the Writer2ePub icon on the LibreOffice toolbar! You’ll have one more opportunity to edit your metadata and then click Ok. LibreOffice and Writer2ePub will work for a few moments and, at first, it looks like nothing happened. Ah! But check the folder where you’ve saved your original LibreOffice file and you will find an ePub there by the same name!

Congratulations! You just created an eBook!

Lets make a Kindle book too ! 

The eBook you just created using Writer2ePub and LibreOffice is in ePub format. That format will work on almost everything out there from tablets to eReaders. It will not, however, work on a Kindle eInk. If we’re talking about a Kindle Fire, then users of the Fire can get apps to open ePub files. That’s fine, but Kindle eInk users can’t get apps for their device, so let’s make sure they can read our eBook too, and that’s where Calibre comes in!

Open up Calibre and import your newly created ePub. Don’t worry, because Calibre copies all imported eBooks to the library folder you select. So your original remains untouched.

Importing Books in Calibre

Importing Books in Calibre Dialogue Box

Once it’s imported into Calibre, right click the item and select Convert Books – Convert Individually. You’ll get a screen with a bunch of options. Set those as you like but your interest probably lies near the top left of the screen where it says Output formateBook Conversion Options in Calibre

Select MOBI from that list and click Ok. Calibre will run the conversion and let you know when it’s finished.

eBook Conversion Formats in Calibre

If you click your book again and look over the right sidebar, you’ll see your cover, author, formats, and path. Next to path is a link that says Click to open. Do that, and you’ll get the directory with your imported ePub and newly created mobi file! That mobi file is perfectly compatible with Kindle eInk devices.
cover

And that’s it! You’ll have your eBook in the two most popular formats for devices and eReaders. If you’re looking to upload your book to a site like Amazon or Barnes & Noble, check to see which format they prefer, though Amazon will most certainly need the mobi format.

Happy writing! Make your eBook happen!

Post by Daniel Messer.

Related Posts

“Ebook week” Day 1: Calibrate my Pocket.

Nov 10

By McVries, Geek, Dad, Avid Reader, Open Source Enthusiast, @mcvries_ on twitter.

calibre

Calibre.

Distraction free reading, a bliss after a day of notifications, phone calls, co-workers with questions and the lot. Just kick them shoes off and put your feet up, maybe sippin’ a glass of Laphroaig. Lovely. And in the last four years or so the idea of me ploughing through a pile of books is no longer a reason to worry about our oxygen levels, paperless it is. An E reader, specifically a Kindle, is my way to protect the environment.
Using Calibre, a multiplatform Ebook management suite, to manage my ebooks gives me the freedom to use actually any format with the Kindle. Calibre reads any Ebook format I can think off and is able to convert them to about any other format. So the usual setup is something like this, I add an epub, txt or doc file to my collection and with a single click I tell calibre to email it to my Kindle. Calibre knows that that little device isn’t multilingual so it translates the whole book into the mobi dialect it does understand. Sweeps it out through port 25 and it lands on my nightstand.
So although I actually own a quite locked down device I don’t really notice it as such.

pocket-logo-icon

Pocket.

Throughout the week I tend to collect quite a few articles and blogposts which I all mean to read later. I save them to my Pocket account if they are a bit longer then usual and if I don’t have a direct need for the information. They wait patiently inside my pocket account and every time I have the time to read up at all the interesting stuff I didn’t get to in that week I can use the Pocket webapp on my laptop, or the application on a tablet. That is just fine and dandy, but the setting is not that of distraction free reading. Popups are still there, the screen is still a glowing display and it just doesn’t feel like reading the way it does on a Deadtree or Electronic book. Especially the well written informative and longer articles I like to read in a more Zen situation.  And here comes calibre to the rescue again.

Calibrate my Pocket.

Calibre contains some nifty tools and one of them is “Fetch News”, which comes with a trunkload of predefined scripts. One of them titled “Pocket”. And although there are some caveats, with sorting and archiving the downloaded articles and working with the correct tags it actually works pretty well for me. And while I was ironing out the forementioned caveats, all of a sudden I ended up creating an Ebook containing six months of weekly columns by a well known columnist here in the Netherlands. Neat.

The HowTo.

Presuming you have a Pocket account and have your credentials available and you have got a copy of calibre running on your preferred OS, here we go.


2

Summary: In calibre click Fetch news and select Add a custom news source.

3


Now choose to Customize a builtin recipe. In the next screen you want to select Pocket.

4

In the edit screen as below you can select the Script on the left en in the right panel scroll down to the “Settings people change” to finetune the recipe for your needs. The picture (click to enlarge) shows the defaults.

5


I changed some options for my needs. My version reads:


  • #Settings people change
  • max_articles_per_feed = 50
  • minimum_articles = 1
  • mark_as_read_after_dl = False # Set this to False for testing
  • sort_method = ‘newest’ # MUST be either ‘oldest’ or ‘newest’
  • # To filter by tag this needs to be a single tag in quotes; IE ‘calibre’
  • only_pull_tag = None

If you don’t meet the required minimum_articles, the script fails with an error. And since I push that button, I want those articles, even if there are just a few. So I lowered this to 1. The mark_as_read_after_dl. I changed this to false, since I want to use my webapp for managing my pocket account. And the sort_method I changed to newest, so if I fail to manage my pocket account I get the latest articles first instead of wading through a whole lot of stuff I have forgotten to clean out. The “only_pul_tag = None creates the situation that only untagged articles are pulled down. So if you would like to create a dedicated stream to your ereader the tag “calibre” or “ebook” would be approriate to use. Just don’t forget to tag them correctly when tagging to pocket!

And don’t forget to save your script (Add/update recipe on the left) and click close. Some loose ends here, even if you saved it it will still warn you you might lose the changes. Take a risk for once and click close. On we go:

6


Under Fetch news, schedule news downloads will tie your freshly editted script to your pocket account. Just pick the Pocket script under custom, create a schedule and fill in the credentials.

7


Now to go out and build your own ebook for your reading pleasure. Under Fetch news click “Download all scheduled news sources”8

Allright, after this the actual building of your ebook will take about 2 minutes, tops. Done, you now own an Ebook with all the needs to reads you collected throught the week. And the next time it will only take about a minute. Transfer it to your E reader and discover it is menu driven, with smart links within the ebook for navigation and enjoy your distraction free quality time with the interesting stuff you harvested.

Get Calibre here and join Pocket here.


Related Posts

“Whats in your bag week” Day 1 : Regravity.

Oct 27

This week we offer you a treat ! Some of the best guestbloggers from the Knightwise.com community (each allstar bloggers, podcasters and content producters) have joined forces to write up a series of articles about “what’s in their bag”. What do they carry around on their geeky roadwarrior adventures. How do they use it and why . We kick off with Tim King. A voice many of you know since he closes up every single Knightwise.com podcast. You have the floor Tim.

MeI’m Tim (Regravity), I’m a media developer for a large organisation in Australia. My work usually includes video / audio development, interactive media creation and UX/UI design.

Most mornings I start off by putting on my flat cap (1.) as I walk out the door of my house and drive to work. Pretty soon after I arrive I plug in my portable hdd (4.) strap on my headphones (6.) and crack open iTunes for some music. My Bendigo Bank (2.) security token is important if I need to pay any bills or transfer money no matter where I go so I usually have it with me.

Data transport can be a difficult issue sometimes so I carry three flash drives (10., 11., 12.) with me just in case I need to grab a file or give something to a co-worker. I also use the microSD card reader (13.) if someone hands me a card from a camera, tablet or phone.

Because I have a Samsung Galaxy S3 (8.) which is getting a little long in the tooth I often have to top up the battery with my phone charger (5.), can’t wait to get an iPhone 6 shortly! I also take with me a small notebook (7.) so I can jot down the crazy ideas I have for technology solutions, short stories (I’m an avid writer) and generally how to solve the problems of the world. 

The male-to-male audio cable (3.) isn’t really a critical piece of gear, but I have it just incase I need to record audio off a weird device like a digital note taker or someones phone.

As I mentioned before I’m a hobby writer, so I like to keep myself well read, hence I bring my Kindle Paperwhite (9.) to work for a quick read during my lunch break. Currently I’m reading the classic cyberpunk novel Neuromancer by William Gibson.

Finally I cram all that into my bag (14.) fairly neatly and I’m good to go!

regravity-bag-stuff

The list : 

1. Roger David – Teddy Flat Cap

http://www.rogerdavid.com.au/teddy-flat-cap-12747.html

2. Bendigo Bank Security Token

http://www.bendigobank.com.au/public/

3. Belkin MIXIT Coiled 3.5mm Male-to-Male Audio Cable

http://www.belkin.com/au/p/P-AV10126/

4. Seagate FreeAgent GoFlex 500 GB Portable HDD

http://www.cnet.com/au/products/seagate-freeagent-goflex-ultra-portable-usb-3-0-1-5tb/

5. Samsung Portable Charger

http://www.shopandroid.com/samsung-micro-usb-1a-travel-charger/5AA11813.htm

6. Sennheiser HD 408 Headphones

http://www.kosmic.com.au/sennheiser-hd408-open-headphones/

7. J.Burrows Pocket Coloured Journal – Black

http://www.officeworks.com.au/shop/officeworks/j-burrows-pocket-coloured-journal-black-jbpcj240bk?searchTerm=j.burrows%20black

8. Samsung Galaxy S3

http://www.samsung.com/global/galaxys3/

9. Amazon Kindle Paperwhite (Second Gen)

http://www.amazon.com/Kindle-Paperwhite-High-Resolution-Display-Built-/dp/B00JG8GOWU/ref=sr_1_1?ie=UTF8&qid=1413522303&sr=8-1&keywords=kindle+paperwhite

10. Dyna Store 8GB Hook USB 2.0 Flash Drive

http://www.officeworks.com.au/shop/officeworks/dyna-store-8gb-hook-usb2-0-flash-drive-dy8gbusb

11. Lexar JumpDrive 16GB TwistTurn USB Flash Drive

http://au.lexar.com/products/lexar-jumpdrive-twistturn-usb-flash-drive?category=1718

12. Sandisk Cruzer 8GB USB Flash Drive

http://kb.sandisk.com/app/answers/detail/a_id/2446/~/sandisk-cruzer-usb-flash-drive

13. SanDisk MobileMate Duo Card Reader

http://www.officeworks.com.au/shop/officeworks/sandisk-mobilemate-duo-card-reader-br190777

14. Bells Beach Crossbody Shoulder Bag

Could not find a link.


You can find Tim online over at regravity.com

Related Posts